Thursday, November 30, 2017

Holiday Peppermint Stick Marshmallows

Hello crafters!

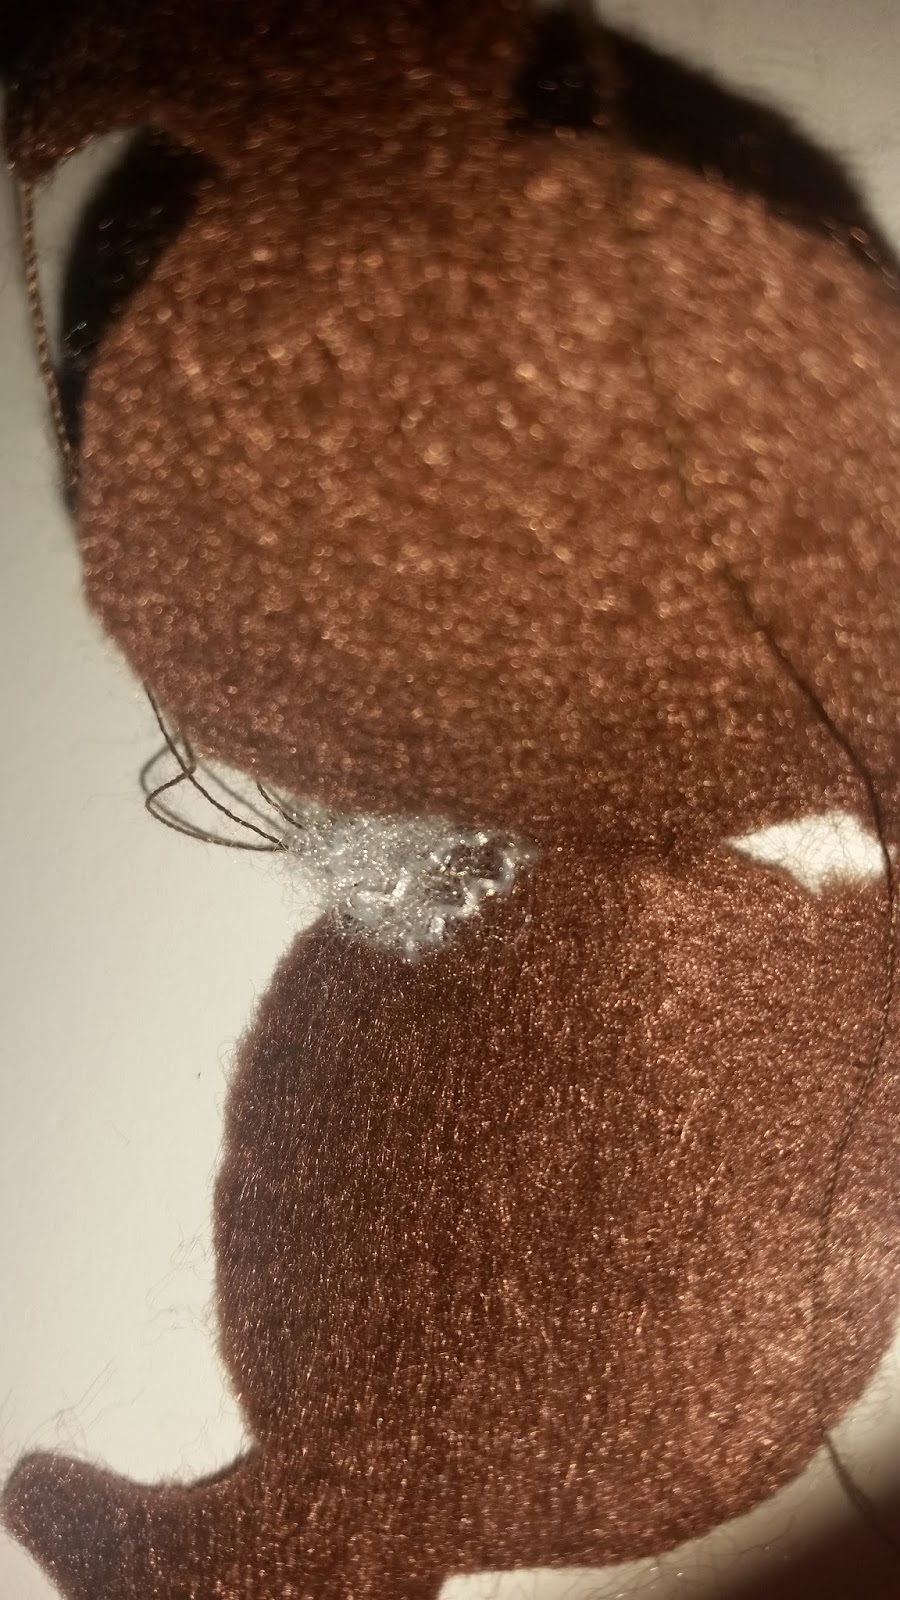
Today I have a new mini to show you all! Mini peppermint sticks in marshmallows!

These were actually super fun to make & easy. I just mixed red & white clay to make peppermint sticks. Next, I rolled white clay and tried to shape it into a marshmallow looking shape. I stuck the peppermint stick into the white clay mini marshmallow. After the clay had dried a bit, I held onto the peppermint stick and used a toothpick to spread glue all over the bottom and lower parts of the sides of the mini marshmallow. I then dipped it into a cup of shredded red & white clay or fake peppermint clay.

Were pretty quick & fun to make! I hope you like them!

My mini clay peppermint stick marshmallows.

Real picture I found online of peppermint stick marshmallows 


Wednesday, November 29, 2017

Red Velvet Peppermint Cake

Hello crafters!

Today, I'm so excited to show you a new cake I recently made!  Actually though, it isn't too new, I made it a few weeks ago.  But, this is Ms. Red Velvet Peppermint's first time meeting the internet, so technically she is new to the internet!

Anyways, I made this cake a few weeks ago.  The base of the cake was made out of white clay.  I had then covered the outside of the cake with a red velvet clay color, along with adding some red velvet clay inside for the icing.  After that, I used some white caulk-like substance on top to give it a whipped cream look.  Finally, I added a few sprinkles of white and red crushed clay on top to look like peppermint sprinkles!

I hope you like it!


Raspberry White Icing Cake

Hello crafters!

A few days ago, around the time I was making my Christmas Pudding Cake & Caramel & Chocolate drizzle cake, I also created a raspberry cake with delicious white icing!

Honestly, when making this cake, it really was just that I had extra paint leftover and had one more cake left to frost & paint.  This super small cake just turned out to be the lucky cake!

Like all of my other cakes lately, it started off as a normal white cake.  I then just covered the cake using a white caulk-like substance.  I used maroon Puffy Paint to slightly paint icing inside of the cake.  Finally, I mixed the rest of the maroon Puffy Paint & caulk-like substance and added a dot of the mixture to the top of the cake!

I hope you like it!


Tuesday, November 28, 2017

Winter Peppermint Cookies!

Hello crafters!

Just posting a quick craft post before taking a break for today. I decided some new mini cookies just seemed perfect for this post!

I actually used clay and red and white clay sprinkles to make the cookies. Mixed red and white colors together to make them a peppermint looking color. I then stuck the cookies onto a sheet of foil I cut out. Once the clay was dry, I iced the cookies with some white Puffy Paint along with sprinkling a few chocolate sprinkles on top!

Well, I hope you like them!


Monday, November 27, 2017

White Icing Lime Cake

Good morning crafters!

Today I'm super excited to finally show you this delicious white icing lime cake I made recently!

It took a few hours to make but turned out perfect! To make it, I just used a ball of white clay and kept shaping it with my hands until it was a perfect cake shape. Once it was dry, I used a Caulk-like substance to coat the cake. The caulk tends to give the cakes a whipped cream icing look. I also spread a bit of white caulk-like substance in between the two layers of cake to look like some delicious white icing!

Before the caulk-like substance was dry, I put a few mini pieces of non-edible fruit on the top! I figured it's lime flavored since the lime fruit pieces seem to stand out the most and I'm not too sure white flavor is much of a flavor.

Anyways, this cake took about 2-3 hours, to make, was so much fun! I hope you like it!:)


WIP Christmas Cakes

Hello crafters!

So excited to take a quick break real quick before starting to go back to working on some Christmas cakes I started making last night!

Of course when I woke up this morning I just had to check out how some of my new cakes looked since they were finally dry.  They seemed so pretty so I just had to take a few pictures of the new Christmas cakes in progress!

In the picture below you can see a few different cakes I'm working on. I actually have been enjoying using white Sculpey air dry clay for my last few cakes. It really works a lot better and seems to look more realistic after painting/coating the cakes with either Puffy Paint, Acrylic paint or Caulk

Anyways, I made a few different cakes in the pictures. You can see one of the cakes which I'm planning to paint and turn into a penguins-decorating-a-Christmas-tree cake. I'm then planning to turn the square cake into a 'Merry Christmas' cake. (you might be able to notice I drew Merry Christmas into the cake using my needle)

One of the other minis might stand out from the rest though since it isn't a cake, it's a pie! I'm thinking about making it into a delicious peach pie, but what do you think? Should it be a peach pie or another type of pie?  Let me know you're opinion on what type of pie it should be in the comments below!

The rest of the cakes are just some extra cakes I'm working on. Well, I hope you like them so far!


Sunday, November 26, 2017

Christmas Pudding Cake

Hello crafters!

After hours of making new clay cakes and pies, I'm so happy to relax, have a snack, and finally make a new blog post!  But lets just hope this post isn't too long so I don't fall asleep before I finish typing!💤

Anyways, today I'm so excited to finally post this Christmas Pudding Cake I created just a few days ago!

I started making it out of plain white clay.  I used my hands to shape it into an almost volcano-looking shape.  After it was all dry, I started painting it.  I was using a picture of a pudding cake to help me make it.  The picture of the pudding cake I was looking at seemed it had more texture so I mixed some brown Puffy Paint with brown chalk to make the texture more bumpy and look more realistic.  Next, I mixed yellow Puffy Paint with white Puffy Paint to make a vanilla colored.  I used a toothpick to drizzle the vanilla colored paint on top.

Then, I mixed blue, red and black clay to make a dark cherry colored clay.  I then rolled out three balls and stuck them to the plate.  I also rolled out small thin sticks of brown clay to make the stems on top of the cherries.  Finally, I mixed some Puffy Paint colors to make a cherry colored and painted the clay cherries with the paint to make them seem a bit shiny.

I hope you like it!


Miniature Strawberry, Chocolate, and Vanilla Ice Cream!

Hello crafters!

So, a few weeks ago I created three adorable miniature ice cream cones with chocolate, vanilla, and strawberry ice cream inside of them! I really love how the turned out!

Making the cones were the trickiest part. Shaping the cone was very easy but printing it was the hardest part. I had a cone like print on one of my tools, but it took many tries to roll the print onto the cone without messing it up. I was actually a bit disappointed with the finished look of the ice cream cones, but since they weren't the nicest mini fake foods to work with, I decided it was good enough.

I then just used some toothpicks, paintbrushes, and toothbrushes to texture the ice cream. The hardened paintbrushes actually work best for making mini ice cream in my opinion.

Once both parts were finished, I glued the ice cream scoop on top of the ice cream cone.

Well, I hope you like it!


Saturday, November 25, 2017

Chocolate Drizzle Peppermint Cake

Hello crafters!

After Thanksgiving, all I could think of was delicious pies and cakes, so I decided to try and make a delicious Chocolate Drizzle Peppermint Cake!  I think it turned out pretty well!

I had actually made it after seeing a delicious picture of some type of strawberry & whipped cream chocolate drizzle cake.  I then tried to make my mini cake exactly like it, except I added peppermint sticks on the top instead of strawberries & whipped cream.

To make it, I got some white clay, rolled it into a ball, and used two credit cards to flatten it out.  I then used the top from a glue stick to place on top of the clay, twist and cut the clay out to make a perfect circular cake shape around the size of a 1:12 scale cake.  I tend to use the tops from glue sticks to cut out some cakes since they work well like cookie cutters.  (warning: only use the glue stick tops for clay. Since glue is not edible, I don't recommend using these for food.)

Anyways, after I cut out the mini clay cake, I mixed some black and red Puffy Paint to make a dark chocolate looking drizzle.  To spread it, I just used a toothpick and spread it across the top of the cake.  I then slightly tried to paint it on the sides.  Once the chocolate drizzle was finished, I added a few peppermint sticks on top.  I liked it, but it still needed something.  So, I decided to add a few dots of chocolate drizzle on top of the peppermint sticks and added some chocolate sprinkles on top.  I then added just a few dots of chocolate drizzle on top of them.

It took awhile to make but I really loved the finished look.  I hope you like it!
Real cake compared to my cake.


Thursday, November 23, 2017

Caramel & Chocolate Drizzle Cake + Happy Thanksgiving

Hello crafters!

Just wanted to make a last-minute post real quick before I go back to Thanksgiving festivities to say Happy Thanksgiving to everyone! 

A delicious cake slice after a Thanksgiving dinner is always so wonderful! So a few days ago, I decided to try and make a sweet cake with some chocolate and caramel drizzle!

The cake actually started off as white. I slightly gave the inside some texture. I then painted the cake with a vanilla looking color Puffy Paint I had mixed. I painted the sides of the lower part of the cake with a bit of chunky brown Puffy Paint which I had mixed with other colors and brown chalk to make it a bit chunky. I then mixed Puffy Paint to make a light caramel sauce color and a chocolate drizzle color. I had spread the paint on using a toothpick.

It was really fun and turned out really well! I think this is one of my favorite mini cakes I've made!

I hope you like it, and Happy Thanksgiving!

Real Caramel & Chocolate Drizzle Cake compared to  My clay version 


Wednesday, November 22, 2017

DIY Remodeled Dollhouse Table

Hello crafters!

Sadly, the top of one of my dollhouse tables accidently got ruined after some glue had got stuck to it and ripped off part of the paint when I pulled it off.  It turned into a great craft though!

I ended up covering the table with some wood looking contact paper.  It turned out to work pretty well, so of course I just had to make a quick few-picture tutorial!

Do you just really want to remodel your dollhouse table?  Well here is a quick & easy way to do so!

- How To Redo A Dollhouse Table -

Ready to start? Here is what you'll need:

- A mini doll table
- Wood looking contact paper
- Scissors


It was pretty easy.  I just placed one of my dollhouse tables on contact paper, and cut around it.  I then stuck the contact paper on the top of the table. I cut around it to make it smoother.


Then, I used the scrap pieces I had cut off & placed them neatly on the sides.


Finally, I just trimmed around the edges.


I trimmed the edges a bit more.  Also used a black marker to fill in any areas I messed up.


And it is finished!  Perfect mini wood table for a doll Thanksgiving or Christmas Dinner!

I hope you liked this tutorial!


Christmas Art Countdown - Day 3

Hello crafters!

Super sorry for not posting the last 2 days of the Christmas Art Countdown, was sick & didn't have a chance to post.

Well luckily today I've had a bit of time to make some new drawings, which I'm super excited to show you. So . . . lets reveal the drawing for today!

I had also made this drawing using the app Sketch. It was super fun to draw! I just used the symmetry tool to create the cross. I then used stickers from the app to make it look more realistic. Finally, I painted a green triangle on the red star and gold star stickers to look like Christmas trees. I then added a few red dots to look like ornaments on the trees.

Took awhile, really love the drawing though. I hope you like it!


Sunday, November 19, 2017

Christmas Artwork Countdown Day 2

Hello crafters!

At the moment, I'm just taking a late-night craft break which is what makes it the perfect time for a quick post.

Second day of my Christmas Artwork Countdown series, and today I have created another drawing using the app Sketch!  Was so much fun to make.  If you saw my post yesterday, you most likely saw the sketch I made where I was talking about using the symmetry tool in Sketch.   Again, I really love the too! It makes the snowflakes so beautiful & easy!

After just playing around and creating the snowflake, I started working on the candy canes and peppermint candies. I just used red and a vanilla white color to draw the giant candy canes and peppermint candies. I used the symmetry tool to easily create all of the extra upside down candy canes and peppermint candies.

Was so much fun to draw! Hope you liked this Sketch drawing! Check back soon for tomorrow's Christmas Artwork Countdown post!


Brown Cuddly Teddy Bear + Tutorial

Hello crafters!

 On the app, Crafty Amino, I was so excited when I saw the challenge for this weekend which was cuddly crafts!

 Cuddly, fuzzy, and cute animals are just so adorable! So, the first thing that came to my mind was one of my fluffy teddy bears. Because of that, I decided to make a fluffy teddy bear for my dolls!

 She turned out perfect and so cute! Even though she is a teddy bear and not a cat, her name is Little Kitty. Here is a picture of her:


 This craft turned out pretty well, but honestly, I had a pretty hard time starting to make her. Actually, this was my first time ever trying to make a teddy bear, or any type of stuffed animal. Once I got an idea on how to make her which I hoped would work, it got a lot easier to finish making. Luckily, I took some pictures while making it which seem just perfect to share with any other crafters trying to make their first-ever teddy bear.

 Here is how I made it . . .

 You'll need:
- A pencil
- Paper
- Brown felt
- Brown thread
- Scissors
- Needle

 1.
First, I used a pencil to draw out the bear shape on a piece of cardstock paper. I didn't measure and just carefully drew it, but if you want to, a stencil could work. I then cut out the bear drawing.

 2.
Secondly, I place the bear shape drawing on top of a piece of brown felt. I then cut around the bear shape. By the time I finished, the piece of felt was the same exact shape as my drawing. I did this step twice so I would have two pieces of bear-shapes felt.

3.


Next, I placed one of the felt bear shapes neatly on top of the other piece. I used my needle to start sewing the two pieces together with brown thread. I sewed all around the edges.

4.
Then, once I finished the first part of the bear's ear, I stuffed it with stuffing. Every little while I added a bit of stuffing inside so by the time I finished, each part would be stuffed.

 5.
By this time, I had finished sewing the bear and had cut off all of the loose threads. Finally, I used a black permanent marker to draw on the mouth, eyes, and a few claws.

I finally finished working on this cuddly craft just about an hour ago. Been working on it since about yesterday morning. I really love Little Kitty!


 I hope you liked it!

Saturday, November 18, 2017

Christmas Artwork Countdown!

Hello crafters!

As awesome as crafting is, I also love drawing! So I've decided, what better way to get ready for the holidays than having a Christmas art countdown?

Starting today, I will be posting one (or more) new holiday inspired drawings/sketches I've made by drawing, or using the app Sketch every day until Christmas! Sounds fun? Well then, lets start off with today's post!


For a few hours earlier today, I was trying to decided on what to draw. I started messing around with the symmetry tool in the app, Sketch and after trying a few times, the drawings started to look like pretty snowflakes. I'm not the best at drawing, or making the same thing twice, so luckily, every snowflake is known to be a bit different!

I then used the star print in the app, and kept going around the border of the picture to make it look similar to garland. Since on Sketch, you can add on extra stickers, I added a bow and reindeer sticker to the screen. I then traces over the stickers, so basically I used them as stencils. I deleted the stickers so only the part I drew would be visible. I then drew a small face on the reindeer and added a few Christmas lights in its antlers.

I really love this drawing, can't wait to start working on some real life drawings, and more drawings on Sketch.

I hope you like it! Check back tomorrow for another CAC (Christmas Artwork Countdown) post!

Peppermint Milkshakes

Hello crafters!

There are always such delicious foods around holidays.  But, what would the food be without the drinks?

A few days ago I started working on two glasses of delicious Peppermint Milkshakes, and they turned out pretty well . . .

These were actually very quick to make.  The glasses were already filled with a milk looking substance when I got them, so I ended up adding a bit of peppermint looking whipped cream on top which I had made using a caulk like substance.  After that, I used red and white clay to make some peppermint sticks to add in the drinks.  I then sprinkled some peppermint sprinkles on top to finish it off.


Was so much fun.  I hope you like it!

Wednesday, November 15, 2017

Tutorial - Making Mini Candy Canes

Hello crafters!

WIthin the last few days without internet, I have had a ton of time.  It turned out to be just enough time to finish a few quick DIY Christmas inspired tutorials!

If you have read a few of my posts over the last few weeks, you might remember when I mentioned about I would soon be posting a tutorial on how to make candy canes.  Well just as I promised, it is time for a mini candy cane tutorial!

Here is the tutorial for . . .

How to make miniature clay candy canes!

1. First, start off with red and white clay.  Try making sure both pieces of clay are about the same amount of clay.


2.  Next, lay the red piece of clay across the white clay with it making an X shape.


3. Then, slowly twist the clay.  Keep twisting it until it is as thick or as thin as you would like.  I would suggest using thicker candy canes for larger sizes and thinner candy canes for smaller sizes.


4. After I was happy with the long candy cane stick, I cut off a piece of it.


5. With the piece you cut off, start bending over the top to make it into a cane shape.


6. Your candy cane is finished!  Now it is time for the dolls to eat them!


I hope you liked this tutorial!  If you have any other questions on how to make candy canes, feel free to ask in the comments!

 Check back soon!  Within a few days I will be posting a new tutorial showing how to make your own barbie or 1:12 scale size doll stockings!