
Good morning crafters!
After being up all last night crafting, it seemed like a perfect time for a break & to post a new craft I made just a few hours ago. *Started the first of the post yesterday, so it has been closer to a day since I made it now. Crafting really can be tiring . . .
Anyways, I was working on a beautiful mini strawberry with white icing cake! Although it is a mystery of how it was made, well at least until now! (strawberry with white icing cake with chocolate chip on top shown below)⇓

The pretty cake with white icing in the picture above is actually mainly made out of foam! I cut three circles out in foam sheets then I just used a calk-like substance to cover it in white icing. Luckily I was taking pictures of it while I was creating it just in case I decided to show a quick tutorial on how I made it. It worked out pretty well so, why not show a picture tutorial?
You`ll need:
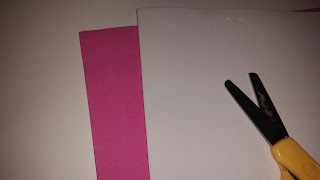
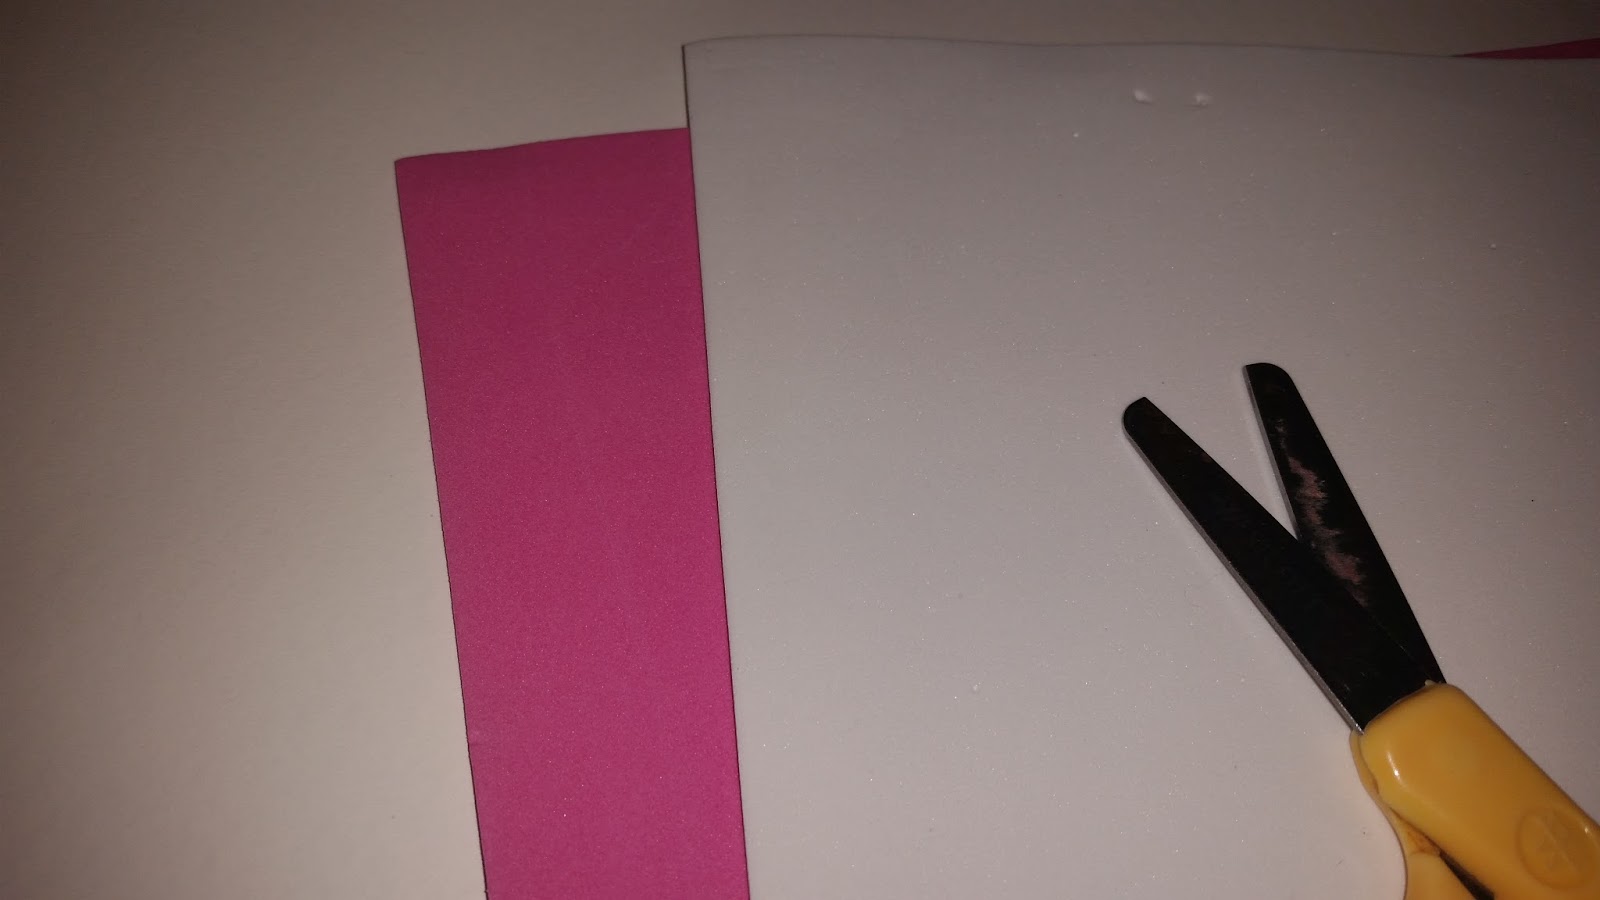
- 2 or more different colored foam sheets
- scissors
- Calk, Puffy paint, or pretty much any kind of thick substance that can look like icing or whipped cream. I used a substance similar to calk, just a little different. Puffy paint should work the same too.
- Glue (I used Tacky glue, but pretty much any glue should do.
- A mini cake, bottle cap, or anything circle & about the size you want to make your cake. *no need in this if you can draw a straight circle*
- A marker
1.

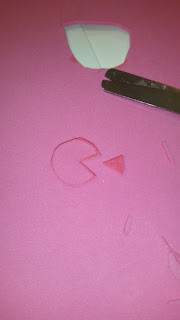
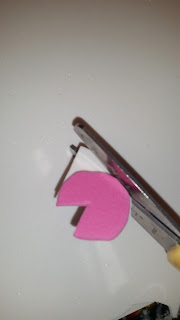
I decided to start off with a pink foam sheet. First, I put a mini cake on the piece of foam and slightly traced around it with a marker. I also drew in the open part of the cake to have a perfect size for a cake piece.

Finished drawing. I only traced the cake and only drew in the area for the cake piece to know where to cut.
2.

Secondly, I used scissors to cut out the cake and cake slice.
3.

Next, I put the cut out cake shape on top of another piece of foam and cut it out. Now it`s almost exactly the same size as the other piece.

Did the same thing with the piece of cake.
4.

Put one of the pink cake shapes on a white piece of foam to cut it out. So basically repeat step #3 again, just with another color of foam. I chose white, but other colors should work just as good for the inside icing.
5.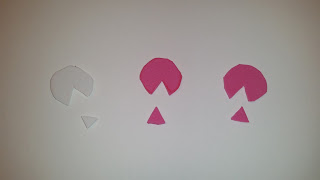

I`ve cut out three cake shapes now. Two cake shapes are pink, and the third one is white. Now it`s time to add glue!

In the picture above you can see how it looks once i glued the cake together. I glued the white cake shape in the middle to make it look like icing inside of the cake. I did the exact same thing to the cake piece.
6.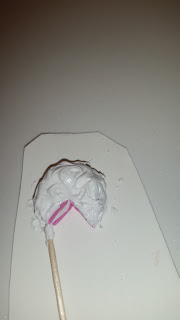

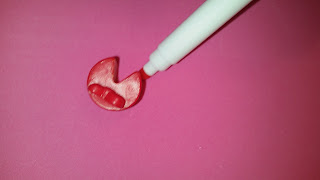
By this time, the glue had dried enough. I used a toothpick to spread the white icing on the cake!

I mixed the fake white icing with a small touch of red Puffy Paint to turn it into a light pink color. I used another toothpick to spread the pink icing on the strawberry part of the cake. The pink icing gives it a flaky effect.
It is officially finished! Was really so much fun to create the cake and tutorial for it. Hoping to make more tutorials soon.
Hope you like it!


No comments:
Post a Comment